
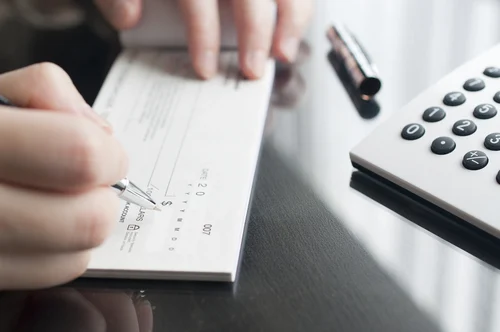
To write a check, fill in the date, write the payee’s name, write the amount in numbers and in words (cents as X/100), add a memo if helpful, and sign. Use permanent ink and don’t leave blank spaces to prevent fraud. Follow these 6 steps:
- Write the date
- Write the recipient’s name correctly
- Fill out the amount in numbers
- Fill out the amount in words
- Add a memo (optional)
- Sign the check
Paper checks aren’t extinct yet. Knowing how to write one remains a useful skill, since checks are still commonly used for rent, contractors, and government payments.
This guide from Remitly breaks down how to write a check step by step, plus the key security rules and common mistakes to avoid.
Quick Answers
- Always sign the check last to prevent fraud, never write “CASH” as the payee, and don’t leave blank space behind your amounts.
- If you make a mistake while filling out the check, void it and re-issue.
- When writing the check amount in words, write cents as a fraction of 100 (xx/100).
- Always use permanent ink and never share images of your checks publicly.
The parts of a check (US layout) and what each one does
Checks in the US follow a standard layout, with only slight variations by bank. Knowing what each section is for makes it easier to avoid mistakes.
The key sections of a check
Here’s where each element is, what to write, and common mistakes to avoid:
| Sections of a check | |||
| Field | Where it is | What to write | Common mistakes |
| Your information | Upper left-hand corner | Your name is pre-printed; add your address if it isn’t already there. | N/A |
| Check number | Upper right corner, and again after the routing/account numbers at the bottom; unique per check. | Nothing | N/A |
| Date line | Upper right side below the check number | The current date in US format (month/day/year) | Avoid writing any date other than the date on which you’re filling out the check. |
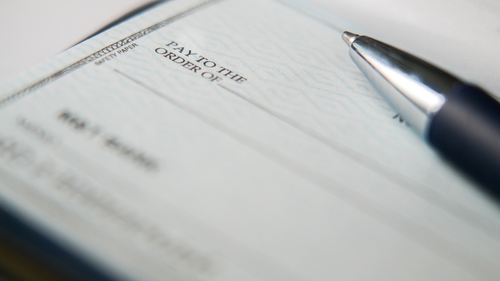
| “Pay to the Order of” line | Under the date line | The name of the person or business that will receive the money | Be careful not to misspell the name of the payee. |
| Amount box ($) | At the end of the “Pay to the Order of” line | The amount in numerical form (e.g., $20.00) | Don’t leave blank space after the numbers where more numbers could later be added. |
| Amount line (Dollars) | Beneath the payee’s name | The amount in words; this is the legally binding figure. | Make sure the amounts written in the Amount box and on the Amount line match. |
| Memo or For line (“Memo” and “For” are interchangeable) | Bottom left corner | What the payment is for, for example “June rent” or “Christmas gift.” This is optional. | N/A |
| Signature line | Bottom right corner | Your signature; without it, the check isn’t valid. | Do not leave this line blank. |
| Routing number | First 9 digits at the bottom right; identifies your bank | Nothing | N/A |
| Account number | Numbers after the routing number; identifies your specific account | Nothing | N/A |
Most checkbooks include a log to record each check’s number, recipient, amount, and date.
This makes it easy for your bank to locate and cancel a payment if a check goes missing.
Never share images of checks publicly, since they expose your routing and account numbers, address, and signature, which can be used for counterfeit checks or identity theft.
New to US banking? Cashier’s checks and money orders
If you don’t have a personal checking account yet, a cashier’s check or money order can serve the same purpose. A cashier’s check is issued directly by a bank using its own funds, making it fully guaranteed, though banks typically only issue these to their own customers. A money order works similarly but is capped at $1,000 and available at post offices, banks, and many retail stores, without needing a bank account.
Both are safer for the recipient than a personal check, since the funds are already guaranteed, though they come with a small fee. See our guide on money orders vs. cashier’s checks for a closer comparison.
How to write a check in 6 steps (with examples)
Now that you know the layout, here are the six steps to writing a check, using a $1,250.00 rent check as an example.
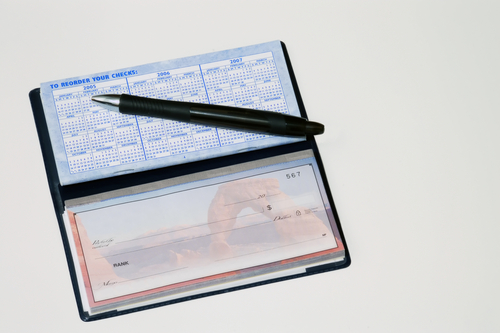
Use a pen with permanent ink so the details can’t be erased or altered later.
Step 1: Write the date
In the upper right corner, write the current date, in month/day/year order.
You can use the numerical form or spell the date out:
- 11/25/2026
- November 25, 2026
You can post-date a check, but banks often process it immediately once deposited, regardless of the date written, so it’s best to only write a check once you have the funds available.
Step 2: Name the recipient
On the Pay to the Order of line, write the full, correct name of the person or business you’re paying. Banks verify this name, so a misspelling can delay or even reject the deposit.
If you’re paying a business, ask exactly who the check should be made out to.
For example:
- “Sunny Property Management, LLC” vs. “Sunny Property Management”.
If you’re unsure, confirm the spelling rather than leaving this line blank.
A blank recipient line is risky: if the check is lost, anyone could fill in their own name and cash it.
Avoid writing “CASH” as the payee, since that makes the check cashable by anyone who holds it, including if it’s lost.

Step 3: Fill in the amount in numbers
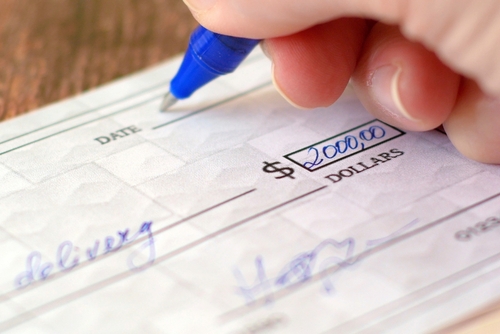
In the amount box, write the number, for example $1,250.00, filling the space so no one can add extra digits.
If space remains, draw a line to the end of the box to block anyone from adding extra numbers.
Step 4: Write out the amount in words
On the line ending in “Dollars,” write the amount in words. If it ever differs from the numerical amount, the written words usually take precedence.
Cents are written as a fraction of 100. For a $1,250.00 rent check, that’s “one thousand two hundred fifty and 00/100.”
Further examples for writing cents on a check:
- For $150.75, write “One hundred fifty and 75/100.”
- For $50.00, write “Fifty and 00/100.”
- For $210.10, write “Two hundred ten and 10/100.”
Step 5: Add a memo (optional, but a good idea)
This optional box (labeled “memo” or “for,” interchangeably) helps you track what the payment was for.
Write something short and clear, such as:
- November rent
- Electric bill
- Invoice #1234
- Lisa’s Christmas gift
Record this in your checkbook log, and consider photographing the check for your records, but don’t share the image publicly.

Step 6: Sign the check
Sign your name on the bottom right line to authorize the funds release. Make sure it matches the signature your bank has on file, since a mismatch can raise a red flag.
Never sign a blank check intending to fill it out later, since anyone who finds it could cash it for any amount.
Made a mistake? Void and re-issue
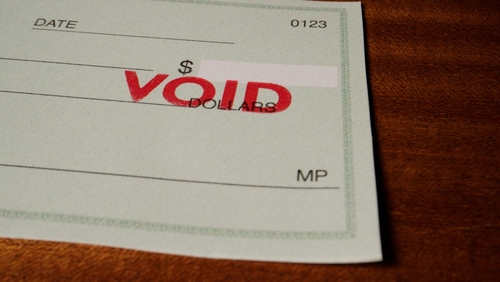
If you make a mistake, don’t alter the check. Void it and start a new one instead.
Write “VOID” in large letters across the center, covering the date, payee, and signature areas. Record the check number in your log, then shred the check.
How to endorse and deposit a check (mobile app, ATM, or teller)
To cash or deposit a check you’ve received, flip it over and sign the endorsement line exactly as your name appears on the payee line, in permanent ink.
If depositing, write “For deposit only” above your name to prevent anyone else from cashing it if lost. Some banks also require your account number as part of the endorsement, so check your bank’s policy first.
Deposit channel options
Once endorsed, you can deposit a check via mobile app, ATM, or bank teller:
- Mobile app: Scan or photograph the front and back in your banking app, then shred the check once the deposit is confirmed.
- ATM: Insert your debit card, select “Deposit,” choose your account, and insert the check. Confirm the scanned amount before taking your card and receipt.
- Bank teller: Deposit in person with a filled-out deposit slip and valid photo ID; the teller processes it and gives you a receipt.

Common reasons for rejection
If your deposit is rejected, check for these common causes:
- A missing or incorrect endorsement.
- A signature that doesn’t match the payee line.
- A payee name that doesn’t match your account.
- A blurry mobile deposit image; retake the photo.
What happens after you write a check (clearing, holds, bounce risk, stop payment)
Knowing what happens after you hand over a check helps you stay in control, especially if something goes wrong.

From paper to processing
When a recipient deposits your check, their bank sends the payment digitally to yours through the Federal Reserve’s check clearing system, and funds are withdrawn and transferred electronically. This usually takes one to three business days, depending on the bank.
Check clearing is different from a hold or funds availability timeline. Under the Federal Reserve and CFPB’s Regulation CC, banks must generally make at least a portion of a check deposit available by the next business day, though your bank’s specific policy can vary.
If the recipient tells you they deposited the check, don’t be surprised if your balance doesn’t reflect it for a day or two.
If funds still haven’t moved after seven business days, check with the recipient or your bank.
What happens if your funds are low?
If you no longer have the funds when the recipient deposits the check, it may “bounce,” meaning the bank returns it unpaid, sometimes with fees for either party.
This is worth remembering if you post-date a check, since banks often deposit checks immediately, which can cause it to bounce if funds aren’t already there.
Tracking your balance helps you avoid a bounced check or an overdraft. Without overdraft protection, you may owe overdraft fees.

What happens with a lost check?
If a check is lost, contact your bank to file a stop-payment order, with the check number, amount, date, and payee ready. This usually comes with a fee.
Understanding stale-dated checks
A check is typically considered stale-dated if it hasn’t been deposited within six months. Banks aren’t legally required to honor it after that, though some still do. Check your bank’s policy, or ask the payer for a replacement.
Frequently Asked Questions (FAQs)
Can I use a future date on a check?
Yes, you can post-date a check by writing a future date on it; however, most banks process the check immediately once it is deposited, regardless of the post-date.
What does it mean to void a check?
If you make a mistake while writing a check or no longer need to finish filling out the check, writing “VOID” across the check in capital letters ensures the check is no longer valid and cannot be cashed or deposited.
Is it safe to send a check in the mail?
Yes, generally. The US Postal Inspection Service advises against leaving outgoing mail in a curbside mailbox, since thieves target checks. For added safety, hand your check directly to a mail carrier or drop it inside a post office instead.
How can I write cents on a check?
When writing an amount with cents on a check in words, cents are always written as a fraction: xx/100. For example, $510.10 would be “five hundred ten and 10/100”. If the amount is $510.00, it would be “five hundred ten and 00/100.”
How long does it take a check to clear?
It typically takes one to three business days for a check to clear. Check clearing is the process by which your bank and the recipient’s bank send the money back and forth.
Can I write “CASH” on a check as the payee?
It is not advised to write “CASH” on a check for security reasons, as this allows anyone who finds the check to cash it themselves.
What if I write the wrong amount on a check?
When the amount box and the amount line on a check don’t match each other, the amount line with the value in words is the legally binding one that will be honored. If you’ve written the wrong amount, void the check and re-issue it.
Key takeaways
These are the most important things to remember about how to write a check in the US:
- Only sign a check once you’ve finished filling out the rest of it. A signed but otherwise blank check allows anyone who finds it to fill in the amount and the payee later.
- When writing the amount on the amount line in words on a check, write cents as a fraction out of 100 (xx/100).
- Never leave the payee information on a check blank, as it allows anyone to cash it.
- Check clearing and funds availability are different: check clearing is a back-end process between financial institutions to transfer the money, while your bank sets the timeline for funds availability.
- If a check is lost, contact your bank to file a stop-payment order, which will likely incur a fee. If a check is wrong, void it and write a new one.
Keeping your checks safe and useful
Paper checks aren’t outdated. Digital payments are often more convenient, but a check is a reliable backup when the power’s out or your phone isn’t working, and many landlords, contractors, and government agencies still expect them.
To keep your checks safe, fill them out completely, sign last, and store them securely.
If you’re looking for a faster way to manage regular payments like your paycheck, see our guide on how to set up direct deposit.
This article was reviewed for accuracy against Federal Reserve, CFPB, and USPIS guidance available in August 2026.